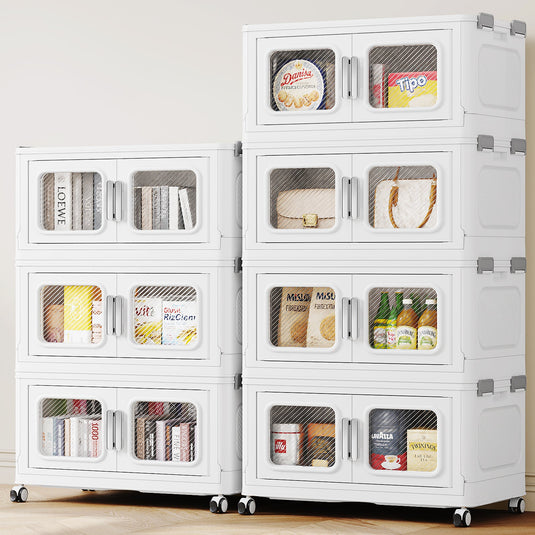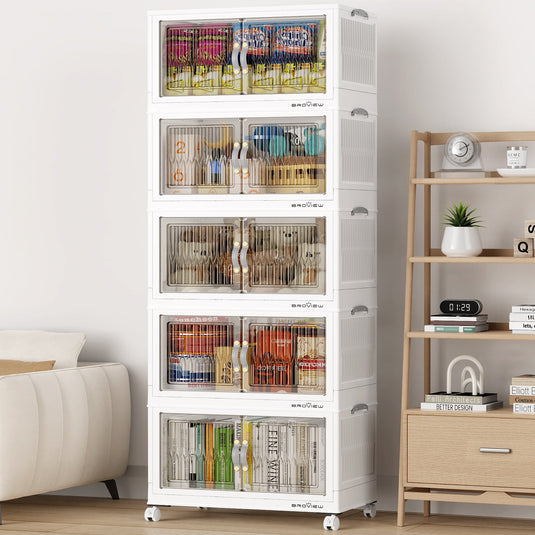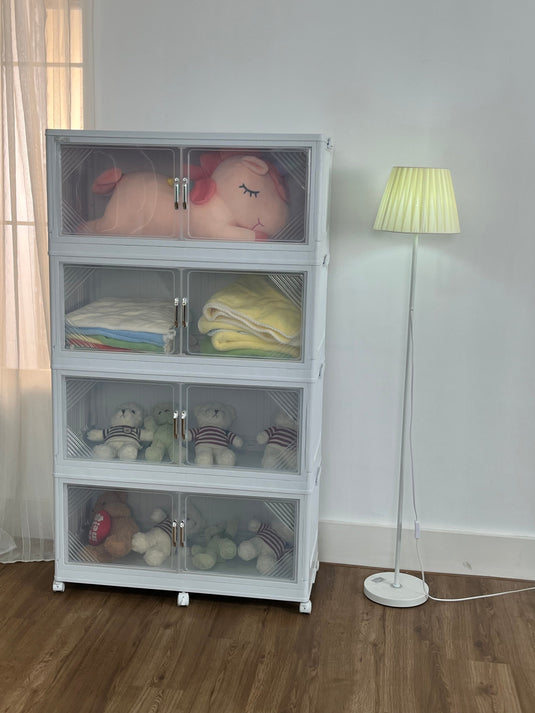
Running out of room in a cramped apartment usually triggers an instinct to stare at the floor. You shift the couch two inches left, squeeze a basket underneath, and hope the mess disappears. This "floor-looker" mindset traps you in a frustrating cycle of merely shuffling physical clutter across a flat surface.
Instead of viewing your home as a two-dimensional map, a dedicated stacking strategy begins by claiming your "air rights"—the dead space hiding right above eye level. Professional organizers frequently note that overflowing kitchen counters represent a stacking issue, not a square-footage defect. Moving daily clutter to a simple $15 magnetic strip instantly expands your room's vertical footprint without discarding your favorite belongings.
Fortunately, accessing this hidden "second floor" requires strategy rather than power tools. Through a straightforward 3-Step Prep for vertical conversion, you will discover renter-friendly vertical space solutions that effortlessly unlock twenty extra square feet of breathing room. Ultimately, decluttering floor space using air rights stops the horizontal chaos and transforms your layout into a calm, breathable sanctuary.
Why Your Floor is the Most Expensive Real Estate You Own
Dropping another basket next to the sofa seems harmless, but this "horizontal trap" quietly steals your most valuable real estate. Relying on floor storage creates three hidden costs:
-
Reduced mobility from dodging physical obstacles.
-
Visual stress caused by endless waist-level clutter.
-
'Dead' corner space that simply wastes potential.
Shifting your focus upward solves this, provided you understand visual weight. Think of your wall like a store window: for successful vertical storage, keep bulky items low and place lighter, airier objects high. This keeps the room from feeling top-heavy while maximizing vertical square footage in tiny homes.
To maintain this spatial balance permanently, adopt the One-In, One-Up rule. Every time a new item enters your home, its storage must use the wall, not the floor. This straightforward habit immediately reclaims your footprint.
Floating Shelves vs. Bookcases: Choosing Your Stacking Hero
Deciding where to put your books and decor often comes down to one major battle: floating shelves vs bookcases for small rooms. The ultimate goal here is achieving "Floor Clarity"—a designer secret where the more continuous flooring you can see, the larger your room feels. A traditional bookcase eats up your footprint, while wall-mounted options keep the ground entirely visible.
Look at the visual difference between the two approaches. Standard floor-to-ceiling shelving units offer massive storage, but they can feel like a heavy wooden block pushing into your living area. Floating hardware, on the other hand, tricks the eye into thinking the objects are taking up zero space, provided your walls can handle the structural impact.
Making the right choice depends on your specific living situation and what your drywall will allow. Keep this quick comparison checklist in mind before buying:
-
Installation Effort: Bookcases just need basic assembly, while floating shelves demand finding wall studs or using heavy-duty anchors.
-
Weight Capacity: Traditional bookcases handle heavy items effortlessly, whereas floating shelves are strictly for lighter objects unless mounted directly into wood.
-
Rental-Friendliness: The best modular shelving systems for renters use tension rods or minimal-drill brackets to build upward safely without losing their deposit.
Embracing "Modular Stacking"—using adaptable pieces that stack vertically or connect as your needs change—ensures your setup grows with you.

The Kitchen Lift: Clearing Counters with Magnetic Strips and Ceiling Racks
Imagine trying to chop an onion while dodging a bulky wooden knife block. You can easily reclaim 30% of your prep space through "Counter Reclimation"—the practice of moving daily tools onto the walls. Swapping that heavy block for magnetic knife strips frees up massive real estate instantly. To keep surfaces clear, remember the top 5 items that should never touch a small kitchen counter:
-
Wooden knife blocks
-
Spice jar collections
-
Paper towel rolls
-
Seldom-used appliances
-
Flat-stacked cutting boards
When your immediate reach is optimized, look straight up. Adding ceiling-mounted pot racks for small kitchens sounds complex, but many lightweight designs use simple toggle bolts requiring zero professional contractors. Combine this upward momentum with "High-Zone Seasonal Storage," which means utilizing high cabinets for items like holiday platters so they stop crowding your everyday pans.
Even tight lower cabinets can work harder if you use small tension rod dividers to file baking sheets vertically instead of stacking them into a noisy mountain. With your cooking prep area cleared, these vertical tactics apply just as effectively to sleep and workspaces.

Bedroom and Office 'Air Rights': Lofting Your Lifestyle
When bedroom floor space vanishes, your best layout move is claiming your air rights. Upgrading to loft beds for adult small space living literally doubles your usable footprint through "Lifestyle Lofting," provided you check your clearance first. Grab a tape measure: if your ceiling is at least eight and a half feet high, you can comfortably sit up in bed while fitting a cozy seating area or dresser directly underneath.
For those preferring lower beds, you can still reclaim room by ditching clunky workstations. Swapping to multi-functional wall-mounted desks creates a "Disappearing Office" that folds flat against the wall at five o'clock. These floating units solve the puzzle of vertical organization by offering massive upgrades over traditional pedestal desks:
-
Frees up 15+ square feet of previously blocked floor space
-
Fits a complete "vertical office" into wall corners under two feet wide
-
Erases the visual weight and clutter of bulky wooden furniture legs
-
Leaves clear room underneath to slide in a tuck-away ottoman
Freeing up your sleep and work zones proves that lifting heavy items completely changes a room's flow, a principle that easily tames chaotic drop-zones like the front door.
The Zero-Footprint Entryway: Over-the-Door Hacks and Tension Rod Triumphs
Walking through the front door usually means stepping over a chaotic shoe graveyard. Reclaim this cramped zone by creating a "Zero-Footprint Entry"—where absolutely nothing touches the floor. Start by hanging heavy winter coats on adhesive hooks, ensuring you master the Command Strip weight limits before sticking them up. Next, repurpose pocketed over-the-door organizers for narrow hallways; they effortlessly hold umbrellas, dog leashes, and mail inside a tiny six-inch gap.
When you run out of door space, friction-based storage lets you wedge items between walls using pressure instead of power tools. Try these tension rod storage hacks to build a floating shoe gallery:
-
Measure the exact width of your hallway nook.
-
Buy two sturdy tension rods per shelf level.
-
Twist the front rod tight, then secure the back rod slightly higher to support shoe heels.
Even bulky commuter gear can float using these clever wedging techniques. Floor-to-ceiling vertical bike racks for apartment dwellers lock securely in place without requiring a single screw. Because suspending heavier items demands extra care, proper installation is critical for protecting both your gear and your security deposit.
Safety and Anchors: How Not to Lose Your Security Deposit
Hanging shelves feels risky since apartment walls are basically chalk wrapped in paper. Bypass fragile drywall entirely by securing gear into hidden wooden studs. Tap your knuckles horizontally across the wall until the hollow echo becomes a dense thud. That solid spot safely handles serious weight without special equipment.
When your ideal spot lands over hollow space, hardware choice matters. Basic plastic plugs handle 10-pound frames, but heavier loads need the toggle bolt advantage. These metal wings slip through a small hole and snap open behind the wall. This distributes the pressure, ensuring the structural integrity of drywall anchors for heavy shelves never fails under your books.
Renters often fear leaving holes behind, but patch jobs take seconds. Simply rub plain white toothpaste or lightweight spackle over small gaps before moving out to leave walls pristine. Safely securing these structural elements allows you to confidently focus on the aesthetics of your new vertical storage.

Designing the Stack: Avoiding the 'Warehouse' Look
Moving boxes onto a new shelf solves physical clutter, but your living room might suddenly feel like a stockroom. Think of your wall like a store display. If heavy, dark items sit up high, the room feels like it's leaning over you. Keeping heavier pieces low creates much-needed visual balance.
Prevent that cramped feeling with these three rules for airy vertical storage:
-
Anchor the base: Place bulky bins on bottom shelves.
-
Color-code the chaos: Use matching baskets to hide random clutter in plain sight.
-
Apply the Breathable Top rule: Leave the top ten percent of your wall empty so the room breathes.
Mastering these vertical storage ideas transforms how your space feels. When maximizing vertical square footage in tiny homes, avoiding claustrophobia matters just as much as clearing the floor. With an intentional setup, you can systematically reclaim your square footage over a single weekend.
Your Weekend War Plan: Reclaiming Five Square Feet in 48 Hours
You no longer have to stare at a cluttered floor. By shifting your perspective upward, you can finally reclaim your cramped rooms. To avoid overwhelm, make your starting line just one overflowing spot, like your chaotic bathroom vanity.
Execute a 48-hour vertical transformation for one major wall project and three small fixes:
-
Friday Audit: Identify your dead space and gather your renter-friendly supplies.
-
Saturday Install: Mount your main shelf, along with your tension rods and door hooks.
-
Sunday Style: Arrange your items, keeping the visually heavy things lower.
Measure success by your "New Floor Visibility"—achieving ultimate Floor Clarity. Applying a dedicated stacking strategy finally gives your belongings a proper home. Maintain the stack with a 5-minute nightly reset, and enjoy your newly expanded space!